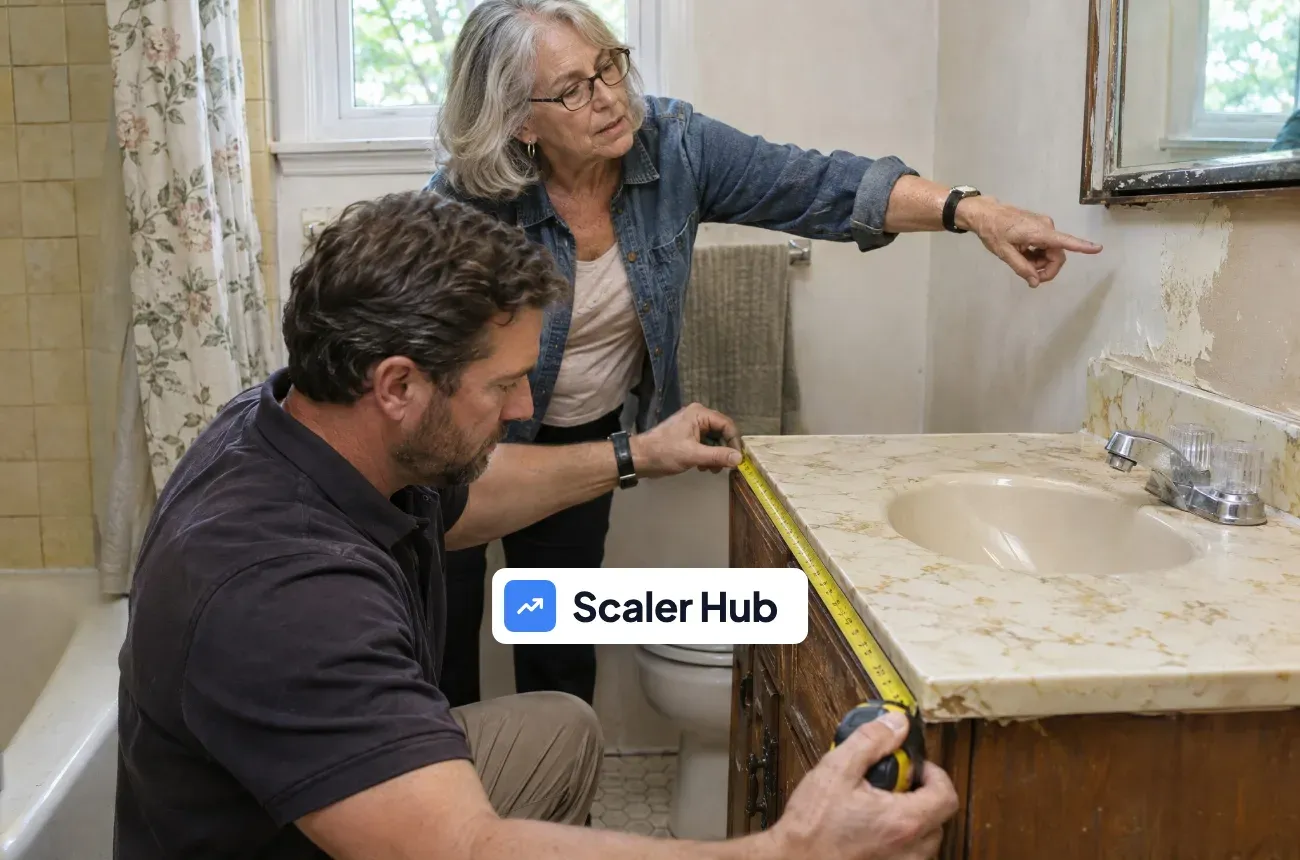
A site visit has two jobs. Discovery is finding out what the customer wants, why, what matters most to them and how they’ll decide. Documentation is measuring and photographing everything the estimate needs. When the owner does every visit, both happen by habit. When two or three people do them, each visit comes back different, and the estimate is only as good as the visit behind it.
This lesson shows how to make visits consistent across your team: what to prepare, the discovery questions, what to document, how to end the visit, and a one-page visit summary that hands everything to estimating.
What goes wrong when every visit is different
An example, made up to show the problem. Two estimators visit two similar deck replacements in the same week.
| Estimator A’s notes | Estimator B’s notes | |
|---|---|---|
| Size | 16 × 20 ft | “about 300 sq ft” |
| Height | 7 ft off grade, measured | not noted |
| Existing footings | Photographed; two cracked | not checked |
| Railing | Customer wants cable rail; local code checked | not discussed |
| Access | Gate is 36 in; materials must be carried | not noted |
| Customer’s priority | Low maintenance; hosting in June | not asked |
| Decision | Both owners present | One owner; the other “will look at the proposal” |
Estimator B’s proposal comes in lower and misses the footings, the railing and the access. Either the company eats the difference, or the job turns into a string of change orders and an unhappy customer. Nobody did anything careless. There just wasn’t a standard.
Before the visit
Whoever books the visit sends the estimator a short packet, so they don’t walk in cold:
- the call notes and lead score from qualifying (the previous lesson)
- photos the customer sent, and the address checked on a map
- the budget range already discussed
- who will be there, and who decides
- anything the customer mentioned that matters: pets, parking, a deadline
Confirm the visit the day before by text, and ask everyone who decides to be there.
Discovery: the questions every visit covers
Ask before you measure. The answers change what you measure and what you propose.
| Topic | Question | Why it matters |
|---|---|---|
| Goal | What do you want this to look and work like when it’s done? | The scope you price, and the options you offer |
| Reason | Why now? What happens if you wait? | Urgency, and what to lead with in the proposal |
| Must-haves | What has to be included, and what would be nice? | Separates the base scope from options |
| Concerns | Have you done work like this before? What went well or badly? | The worries your proposal needs to answer |
| Budget | Is the range we talked about still comfortable? | Whether to propose one scope or good, better and best options |
| Timeline | Is there a date this has to be done by? | Scheduling, and whether you can commit |
| Decision | How will you decide, and who else is involved? | Who the proposal has to convince, and when to follow up |
Write the answers in the customer’s words. “Wants it to feel bigger” is more useful in the proposal than “open concept.”
Documentation: measure and photograph once
Keep one checklist per job type: bathroom, kitchen, deck, panel upgrade, whatever you sell most. Each one lists:
- Measurements the estimate needs, with units
- Photos that must be taken: every wall or side, existing conditions up close, access, the electrical panel or water heater if relevant
- Conditions to check: damage, rot, old wiring, slope, soil, anything that changes the price
- Access and logistics: parking, how materials get in, where a dumpster can go, working hours
- Code or permit questions to look up before pricing
A checklist the estimator fills in on site means nobody has to drive back for a measurement, and anyone in the office can see what was found.
End the visit with a clear next step
Before leaving, every estimator says the same three things:
- What happens next: “You’ll have the proposal by Thursday.”
- How it will be presented: “I’d like to walk you both through it by phone or in person, about 20 minutes.”
- A time for that walkthrough, booked before you leave.
A booked walkthrough is the start of your follow-up. A proposal emailed with no conversation can sit unanswered.
The visit summary: hand it to estimating
Within 24 hours, the estimator writes one page, or fills in the same form every time:
| Section | What goes in |
|---|---|
| Customer and decision makers | Names, who decides, how they’ll decide |
| Goal and must-haves | In the customer’s words |
| Options to price | What’s base scope and what’s optional |
| Measurements and photos | Linked or attached, from the checklist |
| Conditions and risks | Anything that could change the price or the schedule |
| Budget and timeline | What was confirmed on site |
| Next step | Proposal date and booked walkthrough |
If the person who visits also prices the job, the summary still matters: it’s what the next estimator, the project manager and the crew read when the job is sold.
Keep everyone calibrated
A standard drifts unless someone checks it:
- Ride-alongs: a new estimator goes on a few visits with an experienced one before going alone, then the other way round.
- Summary review: once a month, the owner or lead estimator reads a few visit summaries from each person and asks, “Could someone else price this job from this page?”
- Missed items: every change order caused by something the visit should have caught goes back into the checklist.
Your next action
- Write the discovery questions on one page and give them to everyone who does visits.
- Write a documentation checklist for your most common job type.
- Use the visit summary on every visit for the next month.
Free template: a site visit checklist to start your own from is in the contractor templates library.
What to review:
- Visits that needed a second trip or a call back for missing information
- Days from visit to proposal
- Change orders caused by something the visit missed
Next lesson: make estimating consistent, so two estimators pricing the same job get the same number.
Where MotionOps helps
In MotionOps, a completed visit converts into a proposal:
- On Site Assessment: schedule and track site visits with their status, checklists, photos and job details, then convert completed visits into proposals.
- Checklist Templates: reusable checklists, for example one per job type.
- On-Site Estimates: gather notes, photos and details on site in the mobile app.
- Field Proposals: create a proposal on the go, send it for approval or collect a signature in the customer’s home.
See plans and pricing, or book a MotionOps demo.
Contractor Scaler Hub: Build a Sales Process Your Team Can Run, lesson 2 of 5
- Previous lesson: How to Qualify Construction Leads Before the Site Visit (So Your Team Can Do It Too)
- Next lesson: Construction Estimating Process: Use Historical Job Data So Every Estimator Gets the Same Number
- Course toolkit: Build a Sales Process Your Team Can Run toolkit (PDF)
- All courses and lessons: Contractor Scaler Hub