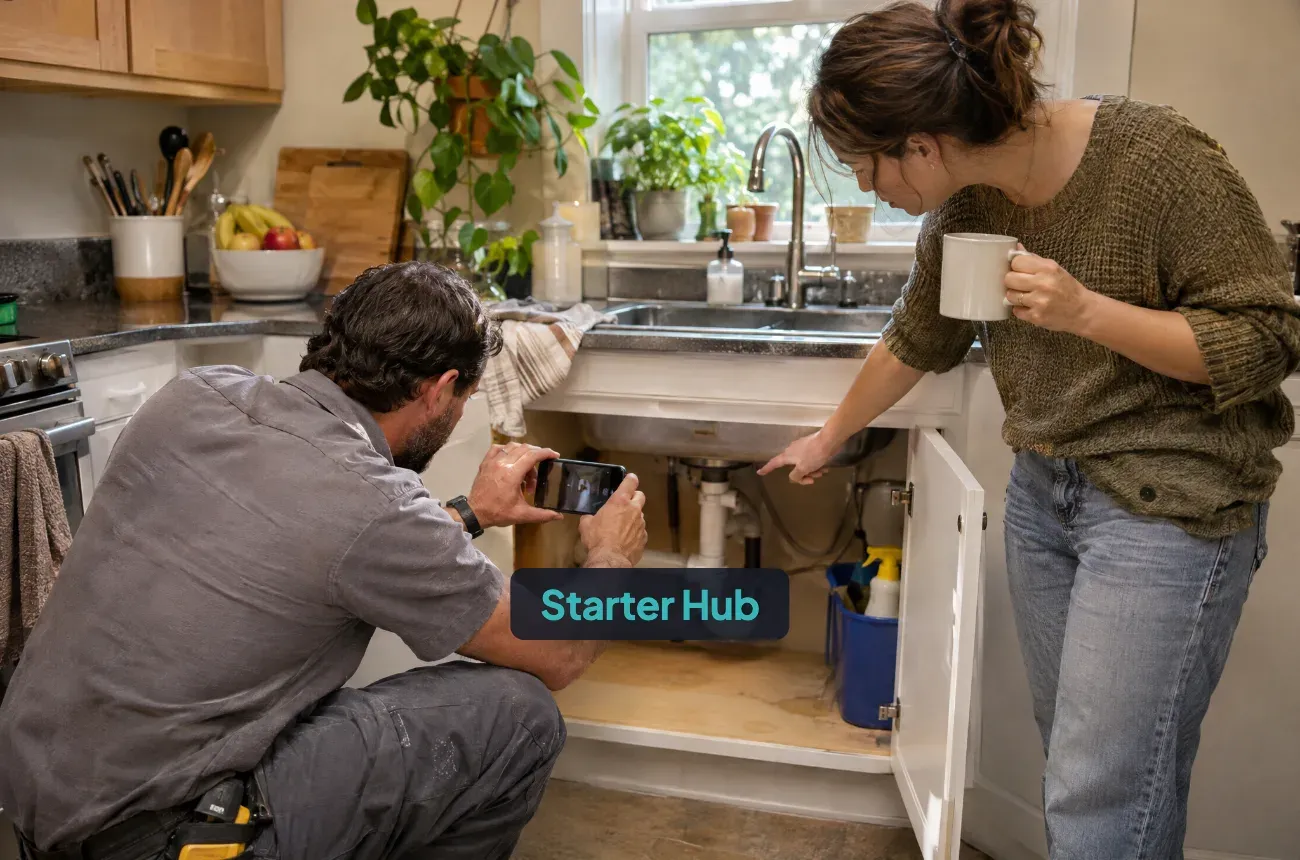
A site visit has two jobs: decide whether this is a job you want, and collect everything you need to price it without a second trip. By the end of this lesson you’ll have a checklist for before, during and after the visit, the photos to take, the questions to ask, the red flags to watch for, and add-ons for your trade.
Before you go
- Confirm the day before by text: date, time, address, and who will be there. “Will everyone who decides on the project be there?”
- Review the photos the customer sent and your intake notes from the first call.
- Check the property age if it matters for your trade. For example, the EPA’s lead renovation rule covers paid “work that disturbs painted surfaces in homes, childcare facilities and preschools built before 1978”, and it requires certification “even sole proprietorships”. If the home was built before 1978 and the job will disturb paint, take it only if your firm is certified and you follow the rule’s lead-safe work practices; otherwise refer it to a certified firm.
- Pack the kit: tape measure and laser measure, flashlight, phone with charged battery, notepad or estimate template, business cards, shoe covers, and the tools your trade needs to look properly (moisture meter, voltage tester, ladder).
- Plan 45 to 90 minutes for a typical residential visit, plus travel, as a starting assumption. Write down your real times so you can price them later.
On site: the walkthrough
Use the same order every time, so nothing gets skipped:
- Listen first. Let the customer walk you through the problem and what they want. Write their words down.
- Look at the whole area, not only the spot they point at. Note what’s next to it, above it and below it.
- Measure everything you’ll price, twice. Write the units next to every number.
- Photograph (list below).
- Ask the site questions (list below).
- Agree what’s in and out of the job, out loud: “So the estimate will cover X and Y, not Z. Is that right?”
- Say what happens next before you leave: when the estimate arrives, how it arrives, and how to approve it.
Photos to take
Ask before you photograph inside someone’s home, and keep faces and personal items out of the shot.
- Wide shot of the room or area, from the doorway
- Close-ups of the problem and of anything damaged
- Every measurement point, with the tape in the shot
- Access: driveway, gate, stairs, doorways the materials must pass through
- Labels and serial plates on equipment you’ll work on or near
- Existing damage you didn’t cause: scratches, cracks, stains. These protect you later.
- Utilities: shutoffs, panel, meter, if they matter for the job
Questions to ask on site
| Question | Why it matters |
|---|---|
| Where can I park and unload? | Time, tickets, damage to their driveway or lawn |
| What hours can we work? Any days off-limits? | Scheduling and noise |
| Are there pets or kids at home during the work? | Safety, doors and gates |
| Where are the water shutoff and electrical panel? | You may need them on day one |
| Is there an HOA or building management? Do they need to approve the work? | Approvals and work rules that can delay the start |
| Have you had work done here before? What went wrong? | Hidden problems and customer expectations |
| Do you want to buy any of the materials yourself? | Who is responsible if they’re wrong or late |
| When do you want to decide, and what will you decide on? | Price, timing, materials, or trust |
For digging of any depth, the site’s buried utilities need to be marked first. 811 is “the free national before-you-dig service”, and it asks you to contact it a few business days before you begin any digging.
Trade add-ons
| Trade | Also check |
|---|---|
| Plumbing | Pipe material and condition, main shutoff location and condition, water heater age, size and label, drain cleanouts, water pressure if relevant |
| Electrical | Panel brand, capacity and free spaces, grounding, signs of overheating, the route for new wire, whether a permit is needed |
| HVAC | Equipment make, model, serial and age, filter size, duct access, thermostat type, condensate drain, clearance around the equipment |
| Painting | Surface condition, previous coatings, year the home was built, furniture to move, ceiling heights |
| Remodeling | What’s behind the wall if you can see it (attic, basement, access panels), floor level, structural concerns to bring in an engineer for |
Red flags
Not every visit should become an estimate. Slow down, or walk away, when you see:
- The person can’t approve the work and the owner won’t be involved.
- They ask you to skip a permit or “keep it off the books”.
- The scope changes every few minutes and they won’t agree what’s in and out.
- They want a firm price on the spot for work you haven’t fully seen.
- Another contractor left the job half done and they won’t say why.
- They tell you they never pay deposits, when your terms require one.
Saying “I don’t think I’m the right fit for this one” is a complete answer.
After the visit: within 24 hours
- Write up your notes while you remember them: measurements, photos labeled by area, scope in and out, questions you still have.
- Send any open questions to the customer the same day.
- Build the estimate with a clear scope, line items and assumptions.
- Send it by the date you promised, and put a follow-up date in your calendar.
Your next action
This week:
- Copy this checklist into the notes app or estimate template you’ll actually use on site.
- Add your trade’s add-ons and the tools you need to bring.
- On your next visit, time each part, so you know how long visits really take.
FAQ
What should a contractor bring to a site visit?
A tape and laser measure, a flashlight, a charged phone for photos, a notepad or estimate template, business cards, shoe covers, and any tools you need to check the work properly for your trade, such as a moisture meter or voltage tester.
How long should a site visit take?
As a starting assumption, plan 45 to 90 minutes for a typical residential job, plus travel, and track your own times. Larger or more complex jobs take longer; if you can’t see everything in one visit, say so and explain what the estimate will assume.
Should I give a price during the visit?
Only if you’ve seen everything and you’re sure of your numbers. Otherwise, tell the customer when the written estimate will arrive and keep that promise.
Run the visit from your phone with MotionOps
MotionOps is field service software for contractors. On Site Assessment schedules and tracks the visit with a checklist, photos and key job details, then turns the finished visit into a proposal, and Job Photos & Videos stores the before shots with the job.
See all features or compare plans. When you’re ready for your first jobs, book a MotionOps demo.
Contractor Starter Hub: Turn Leads Into Booked Jobs, lesson 2 of 5
- Previous lesson: How to Respond to a New Customer Inquiry: Scripts, Questions and Next Steps
- Next lesson: How to Build a Construction Estimate That Wins Jobs and Protects Your Profit + Free Template
- Download for this lesson: Site Visit Checklist (PDF)
- All five lessons: Turn Leads Into Booked Jobs